Category: Basic
-
How to make perfect steamed rice
How to make perfect steamed rice. It’s easy! Not Delia shows you how.
-
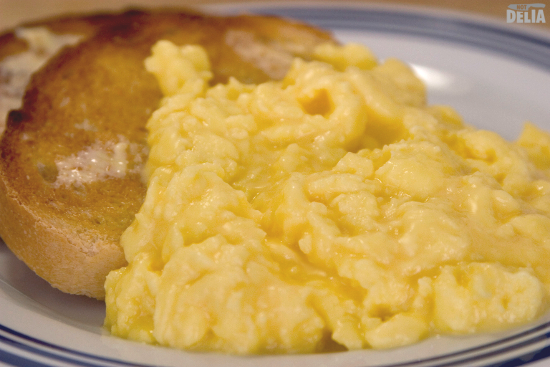
How to cook Perfectly Simple Scrambled Eggs
Not Delia’s method for how to cook perfect scrambled eggs with (almost) the minimum of faff.
-
How to make sugar syrup
Not Delia describes how to make a quick and easy sugar syrup